Monday, August 5, 2013

Summer Burlap Wreath

Hello there.
It's summer.  In full swing.  And I just moved into a new house.  Time to spruce up the front door!

The Summer Burlap Wreath

This is a fairly simple afternoon project.  It's really cheap too.  I used less than a yard of burlap at $3.29 a yard and the wreath form was only a couple bucks at walmart.  The rest of stuff I already had (FREE!).  Yay I like that price!

Let's get started!
A half- 2/3 yard of burlap and a foam wreath form.  I bought a yard and had plenty left over for another wreath for Fall!  I chose a thin one to get the desired look.

You'll also need:
Hot glue gun and glue sticks
floral or fabric pins
scrap fabric for flowers
felt for flowers
ribbon about 1 yard

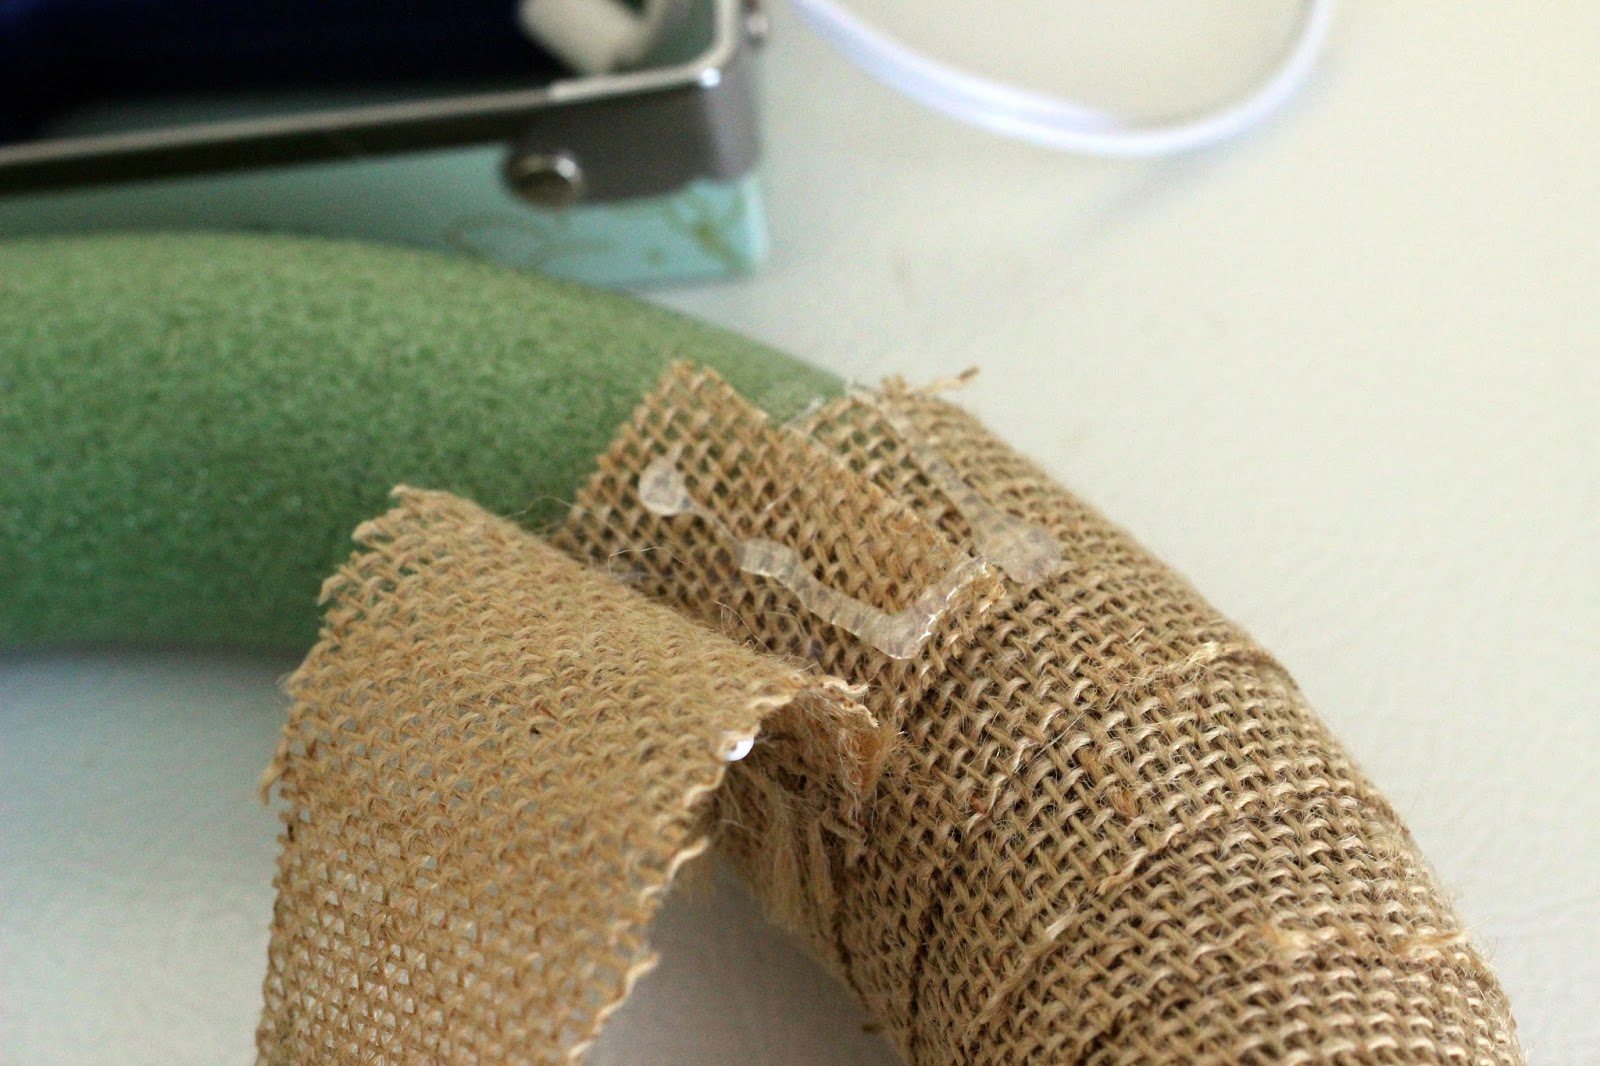
Fold your burlap selvedge to selvedge and then in half cut side to cut side.  You will now have 4 layers.
Cut your layers into roughly 2" strips.  If you have a thicker wreath form you can cutter wider strips.
Now lay your wreath form down and pick a starting point.  Use your pins to attach an end of one of your strips to what will now be the back of your form.
Fold your strip down and put some hot glue above the pins.
Use the pins to hold the fabric in place as you pull the strip taught.  Because burlap is so openly woven, I found it helpful to use the pins to help with gluing so you don't burn yourself!
Wrap your strip around and add another line of glue below the pins.  Carefully wrap and hold until it's set and then remove the pins.
Now wrap your strip around until it's almost gone, overlapping as you go so no green shows through.  Burlap stretches a bit because of the open weave so you can make it work around the curve.

When you get to the end of the strip, glue it on the back side and cut so that the "seam" is on the back.


Start a new strip and continue on pinning...gluing...and wrapping...


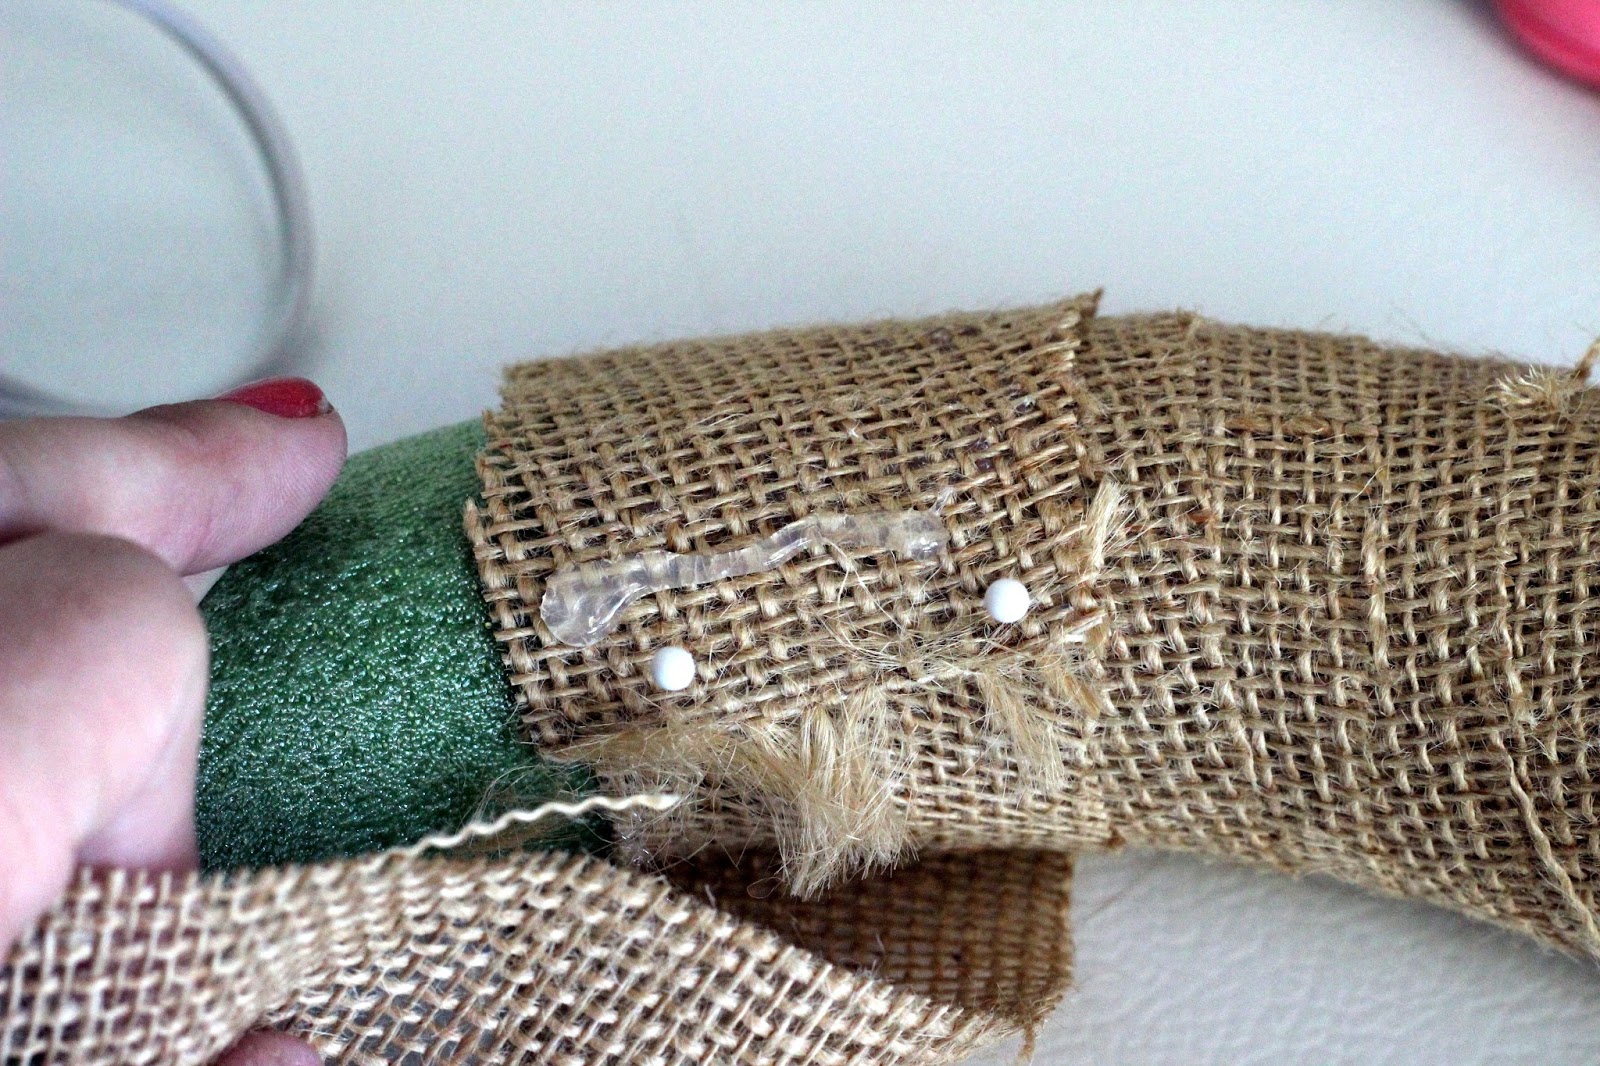
Until the whole form is covered.  Overlap your starting point a bit and then fold the end of the strip and glue in place.
OK Done with the form!  You can stop here if you want!

I wanted to add some summery fabric flowers.  
To make the flowers, lay your felt out and use something round to trace circles and cut them out in various sizes.
They don't have to be perfect.
Now get your scrap fabric and cut a strip 1-2" wide.
The wider the strip, the fuller your flower will be.  If you're using thin fabric, cut a wider strip.  If you're using thicker quilting cotton, cut a little narrower.  If you want a shabby look, cut a little snip the width you want and then rip the rest of the way.  This will make the edges frayed.  That's what I did for the green flower.
Now tie one end in a knot.

Put a triangle shape glob of glue of your felt like this.
Glue your strip down with your knot facing up.
Now you're going to twist the strip and glue as you go.
Don't smash the fabric down too hard, just press lightly.  And BE CAREFUL!  I can't tell you how many times I've burned my thumb really bad doing one of these.

When you get the piece of felt completely covered, bring the end of the strip around to the back and glue it and trim it.
If there is a tail from the knotted end do the same.  Or not, sometimes I leave the tail, like I did with the yellow.
Now arrange your flowers the way you like them and glue them down.  You can leave them flat like I did for a more 3 dimensional look or glue them completely curved around the wreath form for a different look.

Almost done!
Tie your ribbon in a knot around the wreath.  Your knot should be at the length that you want the loop to be when finished.
Rotate your knot to the back

and tie another knot around the front.
Now make two loops
and tie them in a knot to make a bow.  Trim your tails to the length you want and apply fray check.
Now you can slide the bow up and down how you like it!
Hang that puppy up and enjoy the splendor!
I debated adding a little "hello." sign to this but I thought it was so pretty as is!

I'd love to see pictures if you've followed this tutorial.  As always, if you need clarification. let me know!

Happy making!

-Kalley


No comments:

Post a Comment